Last time I was home, my mom taught me how to make freezer jam (in the microwave no less).
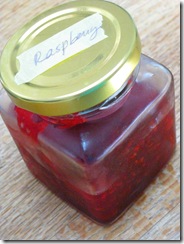
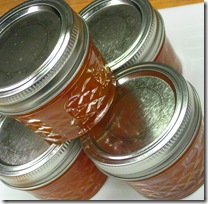
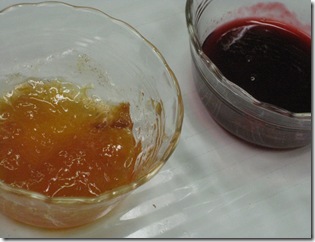
She was all done with the raspberry and apricot batches by the time I decided to document the process, but she still had the plum left to go.
And so I present to you, my mom’s simple (read: fool proof) method for making freezer jam.
*Freezer jam doesn’t require sterilization, so the jars must be stored in the freezer or consumed immediately after being made.
Ingredients
- fruit (raspberries, plums, apricots, peaches, anything)
- pectin (my mom uses the powder kind)
- sugar (to make jam vegan, this ingredient requires tweaking)
- jars (make sure they are the kind that can go in the freezer)
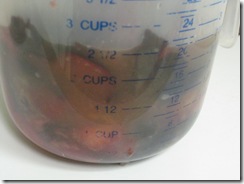
1. Wash and hull the fruit of your choosing. My mom aims to get ~ 2 cups worth of fruit. Make sure the fruit isn’t over or under ripe because the jam will only be as good as the fruit at the time of jarring.
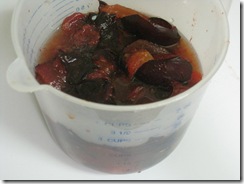
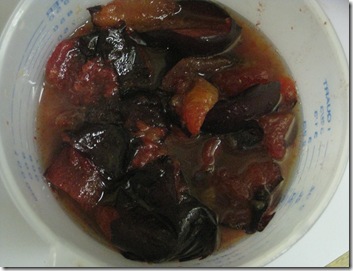
2. Put the fruit in a large container and mash it up.
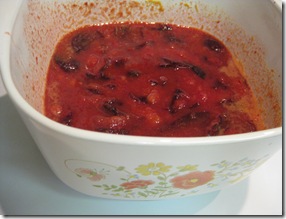
3. Transfer to a glass (or any microwave-safe) pot. My mom uses her deep casserole dish because it bubbles up pretty high once it’s cooking.
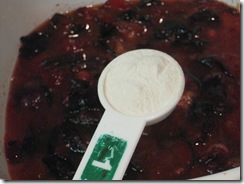
4. Add 1 tbsp pectin per cup of fruit. Since we had slightly more than 2 cups of plums, we used 2 1/4 tbsp of pectin.
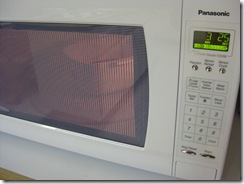
5. Stir it all up so the pectin and fruit are completely mixed and cook in the microwave for 4 minutes. It should bubble like crazy (you want the full rolling boil to kill off anything and everything).
6. Once out of the microwave, let it cool a bit.
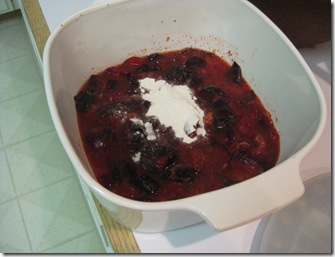
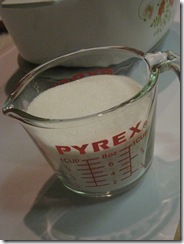
7. Then add sugar. The amount of sugar you add depends on the fruit (and how sweet you want your jam). My mom typically adds 1 1/3 cups of sugar, but plum jam is better tart so this time she only added 1 1/4 cups.
8. Stir the sugar into the fruit until it’s adequately mixed.
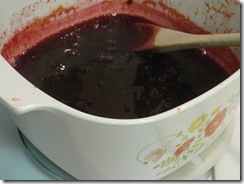
9. Bring the jam to a full rolling boil (again), this time for 8-9 minutes in the microwave, stopping half way through to stir. After it’s done in the microwave, stir it a bit more (you may also have to skim off the top layer after this step depending on the fruit).
10. Don’t forget to set aside a bit to taste test!
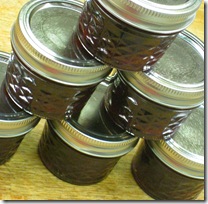
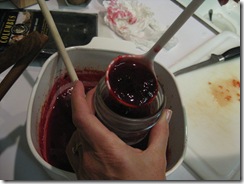
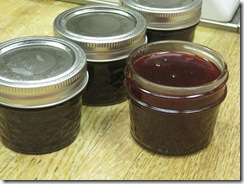
11. Spoon the jam into jars. Be sure to leave some room at the top for it to expand when it freezes.
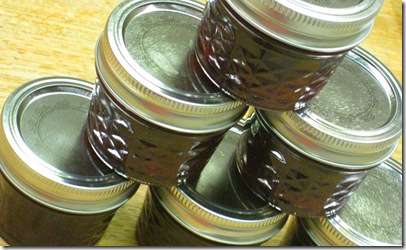
12. Seal the tops and let the jars cool (~30 minutes).
13. Once the jars reach room temp (or is no longer hot to the touch) place them in the freezer until they are ready to be used.
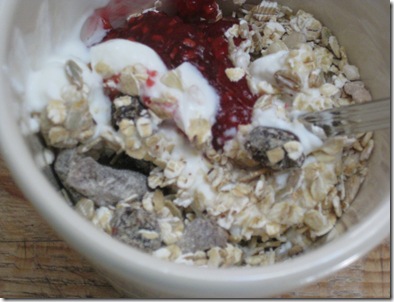
Even though this recipe calls for regular sugar, I was still game to participate in it’s consumption. PB & J sammies are probably the best way to use home-made jam, but another one of my faves is in a parfait.
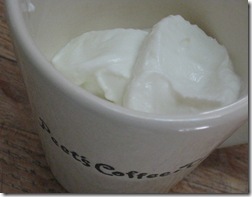
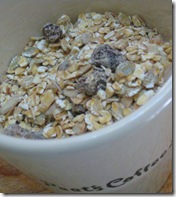
First the greek yogurt layer…then the dried fruit & oat muesli…
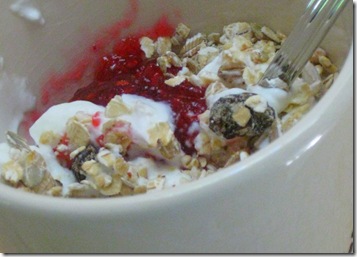
…and then the jam.
Stir and devour. FYI, this muesli was a WF bulk bin purchase, and had dried dates, raisins, sunflower seeds, rolled oats, wheat and rye flakes, and almonds (which I mostly picked out). And eating out of a coffee mug made it a ton more fun, too. 🙂
Mom’s notes:
- Freezer jam is a great alternative to traditional jam-making which requires the jars to be sterilized and poses a greater risk for contamination. Just wash the jars well before filling them and freeze them after.
- Store the jars in the freezer until you open them. Once you open them, they should be stored in the fridge and used within 3-4 weeks.
- If you use smaller jars, it’s easier to use them up before they go bad after being opened, thus preventing the jam from going to waste.
- Doubling the recipe isn’t recommended, otherwise it won’t set correctly.
- For apricot, peach, and nectarine jams, you may want to add in 1 tbsp lemon juice to prevent the fruit from browning and add a hint of tartness.
Elise’s notes:
- If you are vegan, or just looking for a recipe without sugar, stevia or agave nectar can be used in place of sugar, but not without major modifications to the rest of the recipe.
- In addition to altering the amount of sweetener (you will need way less since stevia is far sweeter than sugar), you also need a no-sugar pectin.

my boyfriend’s mother makes jam this way too! She makes strawberry mostly, but it’s really, really good. We have some in the fridge that we are working through at the moment. It is sugar-packed, but oh so delicious.
Can you elaborate on the vegan sugar comment. Can’t you just use sugar that is vegan? For example: http://www.wholefoodsmarket.com/products/item.php?RID=72
Thanks! The recipe sounds great.
You probably can use the vegan cane sugar. I just don’t know since I’ve never done it and I didn’t want to give advice for something I’m not 100% sure about. The link you attached is actually the exact sugar we have in our apartment and I use it for most everything in place of non-vegan sugar (and that works fine most of the time), but I do occasionally use agave and stevia too…so I just didn’t want to mislead readers or cause anyone to assume that (a) this was a vegan jam, (b) any non-sugar alternative could be subbed in and out the same way, or (c) that I had made a vegan version before. I can only vouch for this jam, made with real sugar. If I do attempt a vegan jam in the future though, I’ll definitely give the recipe. Thanks for the comment!
So easy and delicious! Thanks Elise and Mama!
Thanks for this! I’ve always wanted to know an easier way to make preserves.
Where did you purchase the jars from?
My mom got a whole case of them…I bet they have them online though for cheaper than anywhere youll find in a store.
Great post. I like freezer jam better than the cooked kind because it has the fresh fruit taste rather than the cooked profile. I love it stirred into raw rolled oats.
Thanks
Loren
Pingback: By the letters « hungry hungry hippie
Pingback: Oh so savory
Pingback: That’s marriage